3D workshop & DIY
Building a lighted, heated seed-starting shelf: LEDs, heat mat, timer
In February and March, a window is not enough: seedlings get leggy. A metal shelving unit, LED bars, a heat mat with a thermostat and a timer make an indoor nursery. The right light and temperature benchmarks, step-by-step assembly, electrical safety and a light and power consumption calculator.
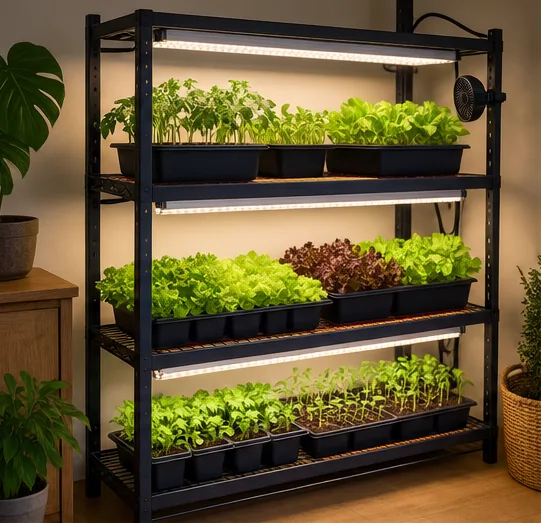
In February, even the best window in Belgium does not let in enough light: seedlings stretch, turn pale and flop over. The indoor gardener’s solution fits on one square meter (about 11 sq ft): a metal shelving unit, LED bars, a heat mat and a timer. Here are the university benchmarks for light and temperature, the materials list, step-by-step assembly, electrical safety and a calculator to set the lighting period and find out the power consumption.
For what comes next, see sowing and transplanting and the beginner’s first month; to choose lights, grow lights.
1. Why a seed-starting shelf?
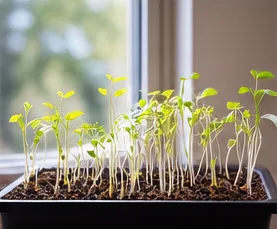
- A window is not enough in late winter. A plant short on light gets leggy: long, pale, weak stem. Check yours with the lighting calculator and natural light or LEDs.
- Germination likes a warm growing medium, not necessarily a warm room: a heat mat speeds up emergence (University of Maryland).
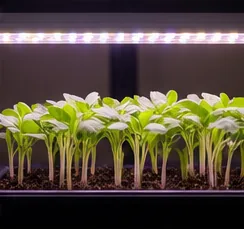
- Everything is adjustable: light height, lighting period, temperature. You get stocky plants, ready to transplant into hydroponics.
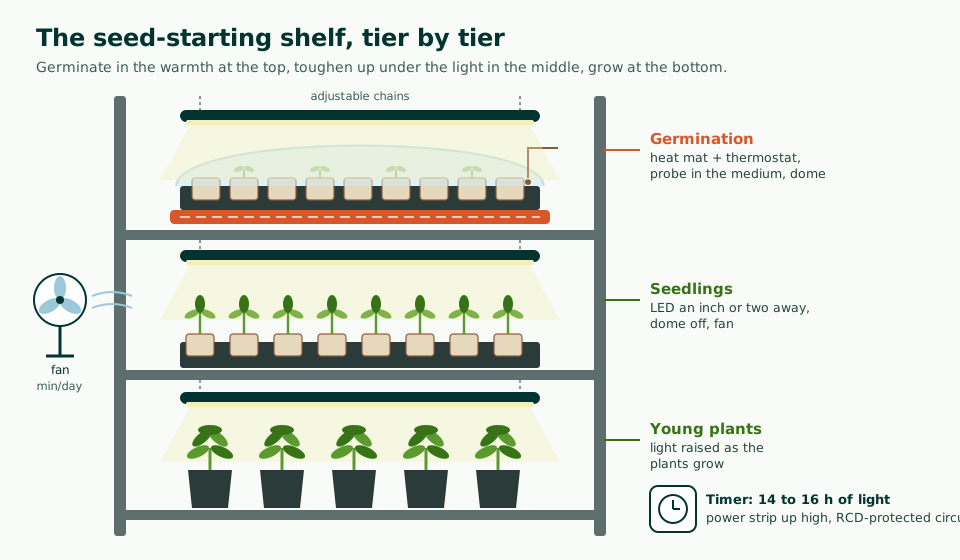
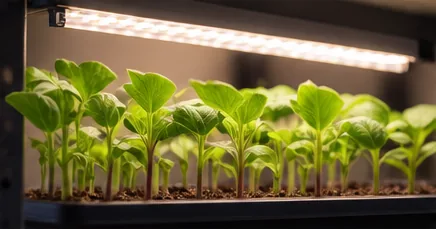
- Three tiers, three stages: germination in the warmth, seedlings under the light, young plants before transplanting or the next succession sowings.
2. The right benchmarks
| Benchmark | Value | Source |
|---|---|---|
| Light per day (DLI) | 8 to 12 mol/m²/day for young plants | Runkle, Michigan State |
| Intensity under LEDs | 125 to 175 µmol/m²/s for 16 to 20 h | Runkle, Michigan State |
| Lighting period | 14 to 16 h a day, with a timer (12 to 16 h for Iowa State) | University of Maryland; Iowa State |
| Light-to-plant distance | About 5 to 15 cm (2 to 6 in) for seed-starting tubes and bars | University of Maryland; Iowa State |
| Growing medium for germination | 18 to 24 °C (64 to 75 °F) for most vegetables | University of Maryland |
| Air after emergence | 18 to 21 °C (64 to 70 °F) during the day, 13 to 16 °C (55 to 61 °F) at night; a little cooler for lettuce and cabbage family crops | University of Maryland; Utah State |
Values converted from the degrees Fahrenheit and inches used in the American publications, rounded.
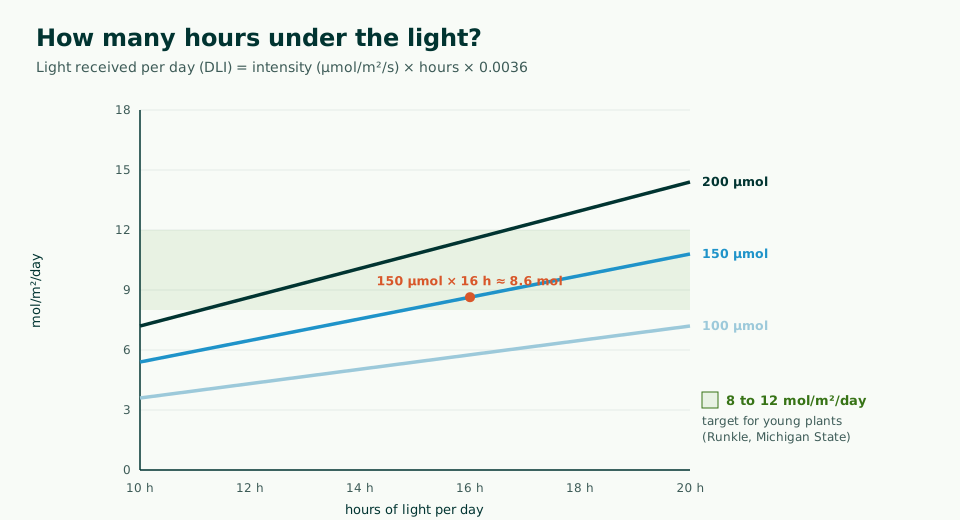
The light that counts is the total light for the day, the DLI: intensity × hours × 0.0036 (Purdue University). A 150 µmol/m²/s light for 16 hours gives about 8.6 mol, within the target; a 100 µmol light does not get there, even when on for an entire normal day. The intensity can be read from the light’s spec sheet at a given distance, or measured (see grow lights).
3. Materials
The essentials
- A metal shelving unit with 3 or 4 tiers, wire or solid shelves, about 60 × 30 to 90 × 45 cm (24 × 12 to 36 × 18 in).
- One or two LED bars per tier, the width of the shelf.
- A timer, mechanical or programmable.
- Watertight seedling trays, trays with holes, clear domes.
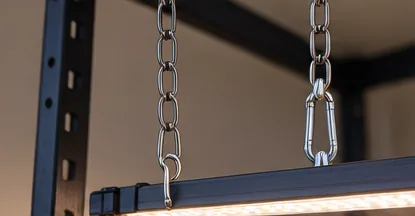
- Small chains or adjustable hangers to raise the lights.
The extras
- A seedling heat mat with a thermostat and probe.
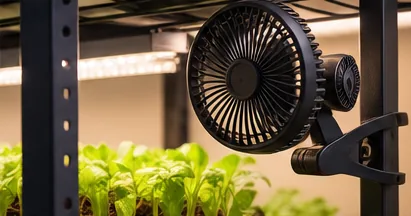
- A small clip-on fan.
- A power strip with a switch, mounted up high.
- A white or reflective backing on the sides and the back.
- A min-max thermometer and, ideally, a light meter.

4. Calculator: light and power consumption
Enter your light’s intensity at leaf level, the lighting period and the wattages: the calculator compares them with the 8 to 12 mol/m²/day target (Runkle) and estimates the power consumption.
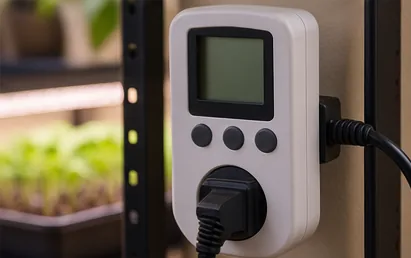
DLI = intensity × hours × 0.0036 (Purdue University). Target: 8 to 12 mol/m²/day for young plants (Runkle, Michigan State University). Actual consumption depends on the thermostat: a plug-in power meter at the outlet gives the exact figure.
5. The tutorial: assembling the shelf
Time: two hours. Level: intermediate.
- Choose the spot: a room at a moderate temperature, near an outlet protected by a residual-current device, away from curtains, on a floor that can handle a few drops.
- Assemble the shelving unit, level, with at least 40 cm (16 in) between shelves so you can raise the lights; line the back and sides with a white or reflective material.
- Hang the lights under each shelf with adjustable chains, 5 to 15 cm (2 to 6 in) above the tops of the future plants (University of Maryland).
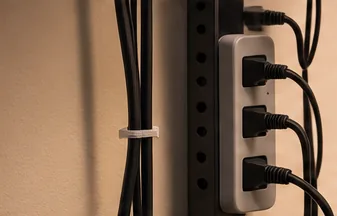
- Mount the power strip up high, cables tied to the uprights, with a drip loop: each cable dips below the outlet before going back up, so water cannot run down to it.
- Plug the lights into the timer, set to 14 to 16 hours (University of Maryland).
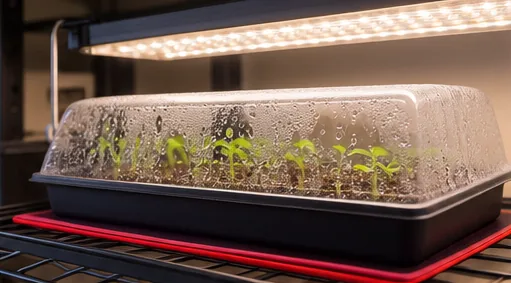
- Install the heat mat on the germination tier, under a watertight tray, connected to its thermostat; push the probe into the growing medium, set to about 21 °C (70 °F).
- Sow, cover with a dome, and check for emergence every day.
- After emergence: dome off, trays moved down under the lights; fan for a few minutes a day as soon as half the seeds have come up (Utah State).

6. Adjustments week by week
- Germination: growing medium at around 18 to 24 °C (64 to 75 °F) (University of Maryland), a dome, and a check every day so you do not miss emergence.
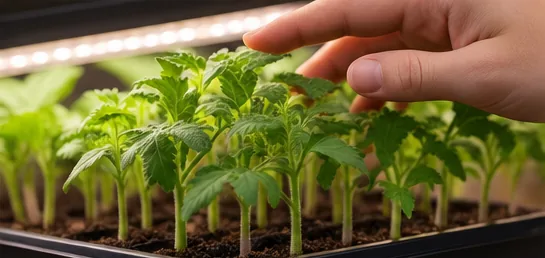
- Emergence: light right away, dome off, mat removed if it gets too warm, otherwise the plants get leggy (Utah State).
- Seedlings: 18 to 21 °C (64 to 70 °F) during the day, 13 to 16 °C (55 to 61 °F) at night (University of Maryland); a little moving air against damping-off (Utah State, Iowa State).
- Growth: raise the light as the plants grow; space out the pots.
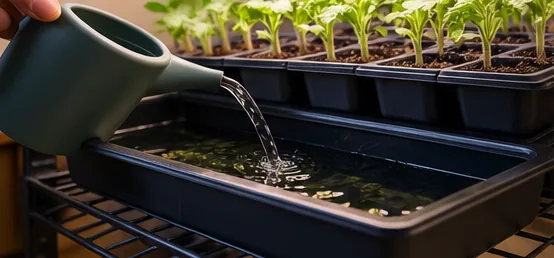
- Watering: from below, letting the medium dry slightly between waterings; too much water encourages damping-off (University of Maryland, Utah State).
7. Common mistakes
| Mistake | Consequence | The fix |
|---|---|---|
| Light too far away or too weak | Leggy, pale plants | 5 to 15 cm (2 to 6 in), 125 to 175 µmol/m²/s |
| Light left on continuously without a timer | Irregular lighting period, wasted power | Timer, 14 to 16 h |
| Heat mat without a thermostat | Growing medium too hot, electrical hazard | Thermostat with probe |
| Leaving the mat on after emergence | Leggy plants | Remove it if it gets too warm |
| Dome left on after emergence | Saturated air, damping-off | Dome off as soon as seedlings emerge |
| Watering from above, too often | Damping-off | Bottom watering, medium allowed to dry a little |
| Still air | Soft stems, diseases | Fan for a few minutes a day |
| Outlets on the floor under the trays | Electrical hazard | Power strip up high, drip loop, residual-current device |
8. Key takeaways
Show off your seed-starting shelf on the forum: a photo, the lights you used and your first results.
Frequently asked questions
How far above seedlings should an LED light be?
The Universities of Maryland and Iowa give about 5 to 15 cm (2 to 6 inches) for seed-starting LED tubes or bars. The right distance mainly depends on the power of the light: aim for 125 to 175 µmol/m²/s at leaf level (Runkle, Michigan State University), measured or read from the manufacturer’s spec sheet, and raise the light as the plants grow.
How many hours of light do seedlings need?
14 to 16 hours a day according to the University of Maryland, 12 to 16 hours according to Iowa State, always with a timer. What really matters is the total light received per day: 8 to 12 mol/m²/day for young plants (Runkle). With a weak light, you need more hours; the calculator in this article does the math.
Do you need a heat mat to germinate seeds?
It is not essential, but it speeds up germination (University of Maryland): a growing medium at around 18 to 24 °C (64 to 75 °F) suits most vegetables. Always plug it into a thermostat with a probe, and remove it after emergence if it gets too warm, otherwise the plants get leggy (Utah State).
Why are my seedlings tall and weak under the light?
They lack light (light too far away or too weak) or are too warm. Lower the light, lengthen the lighting period, lower the temperature after emergence and add some moving air (Utah State).
How much power does a seed-starting shelf use?
It depends on the lights and the mat: for example, two 30 W LED bars on for 16 hours use nearly 1 kWh a day. The calculator in this article estimates the kWh and the cost per month from your wattages and your price per kWh.
- E. Runkle, Michigan State University, in The Lighting Guide, GrowerTalks, 2021
- J. Traunfeld, University of Maryland Extension, Starting Seeds Indoors, 2026
- W. Crump, T. Beddes, M. Caron and M. Oliveira, Utah State University Extension, Starting Vegetable Seeds Indoors IV, 2025
- R. Jauron and S. Rindels, Iowa State University Extension, How to Successfully Start Seed Indoors, 2023
- A. Torres and R. Lopez, Purdue University, Measuring Daily Light Integral in a Greenhouse, HO-238