Part VI · Monitor and beyond
Automating your hydroponic garden: sensors, ESP32 and Home Assistant
Temperature, water level, EC and pH tracked around the clock, an alert on your phone when something goes wrong, lights and pump controlled without tinkering with 230 V mains: the three levels of automation, the sensors worth buying, wiring an ESP32 station, the ESPHome configuration, Home Assistant alerts, calibration and safeguards.
You already check the water level, temperature, EC and pH by hand. Automation does not replace that eye: it extends it. It measures while you sleep, keeps the history, and warns you the moment something goes wrong rather than the next day. Provided you start with the right sensors, and do not let the machine take action too soon.
1. Three levels, one step at a time
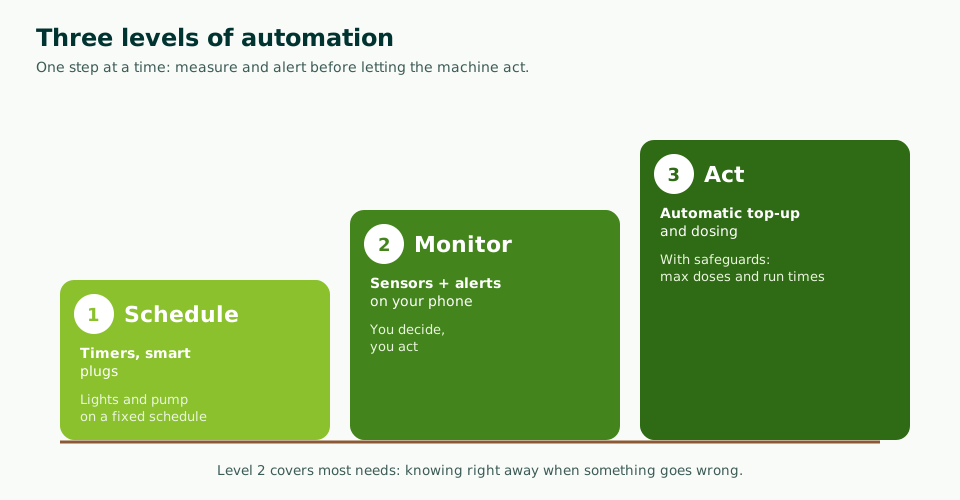
| Level | What it does | Hardware | Who it is for |
|---|---|---|---|
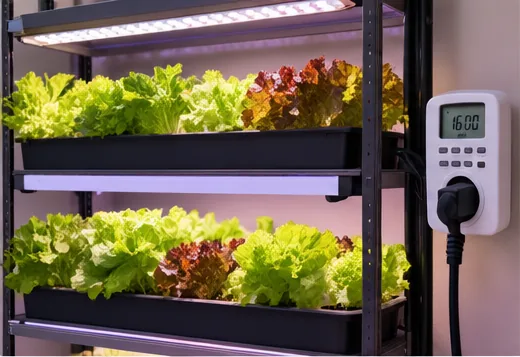
| 1. Schedule | Turns things on and off at set times, without measuring anything | Timer, smart plugs | Everyone, from the very first grow light |
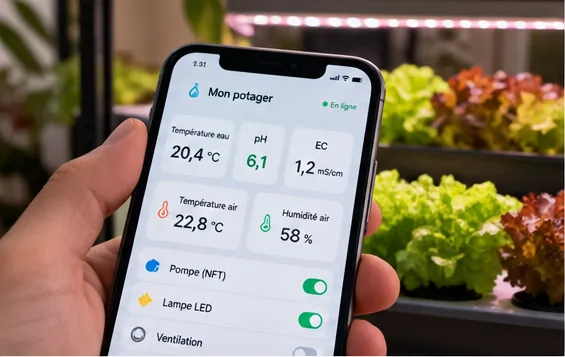
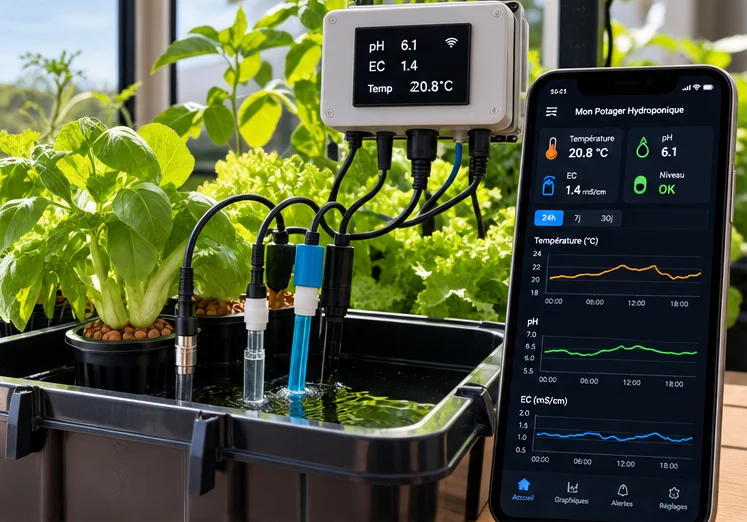
| 2. Monitor | Measures continuously, keeps the history, sends alerts to your phone | Sensors, ESP32 board, Home Assistant | Systems with a pump or air pump, several reservoirs, time away |
| 3. Act | Tops up the water, doses pH or nutrients | Solenoid valve or top-up pump, dosing pumps | Stable setups, proven sensors |
Level 2 covers most of a hobby grower’s needs: serious problems (pump stopped, empty reservoir, solution too warm) show up right away. Oklahoma State University recommends checking pH and EC every day at the same time: a sensor does it every minute, without forgetting.
2. The sensors worth buying
| Measurement | Common sensor | Reliability | Good to know |
|---|---|---|---|
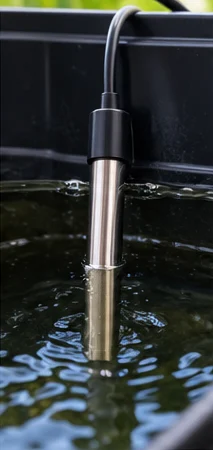
| Solution temperature | Waterproof DS18B20 probe | Very good, about ±0.5 °C (±0.9 °F) | The most useful and cheapest sensor: heat and Pythium go together (see DWC and air pumps) |
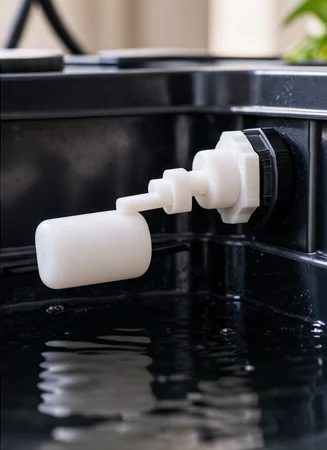
| Water level | Float switch (contact), waterproof ultrasonic, capacitive sensor | Very good for the float switch | The float switch says “low” or “not low”: that is often enough |
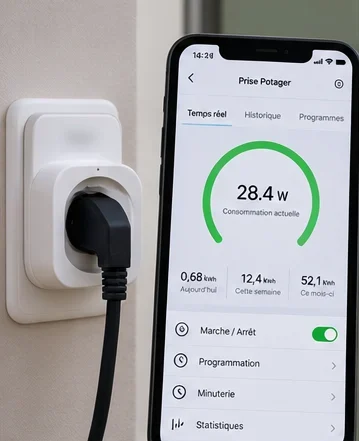
| Pump power draw | Smart plug with wattage metering | Very good | 0 W when it should be running: failure, blown fuse, unplugged |
| EC | Probe and analog module | Good if temperature-compensated and calibrated | 1.41 mS/cm calibration solution, as for a handheld tester (Oklahoma State) |
| pH | Probe and analog module | Fair over time | Two-point calibration (pH 4 and 7), monthly; the probe needs regular replacement |
| Air and light | Temperature and humidity sensor, light sensor | Good | Useful in a grow tent or sunroom; secondary elsewhere |
DS18B20 probe accuracy: specification table of the board described by Abu Sneineh and Shabaneh (MethodsX, 2023), which measured pH, EC, temperature and water level with an ESP32. pH calibration: maker of a common module (DFRobot).
To control everything from your phone or TV (Matter, Apple TV 4K, Android), see controlling your garden from your smartphone.
3. Who talks to whom
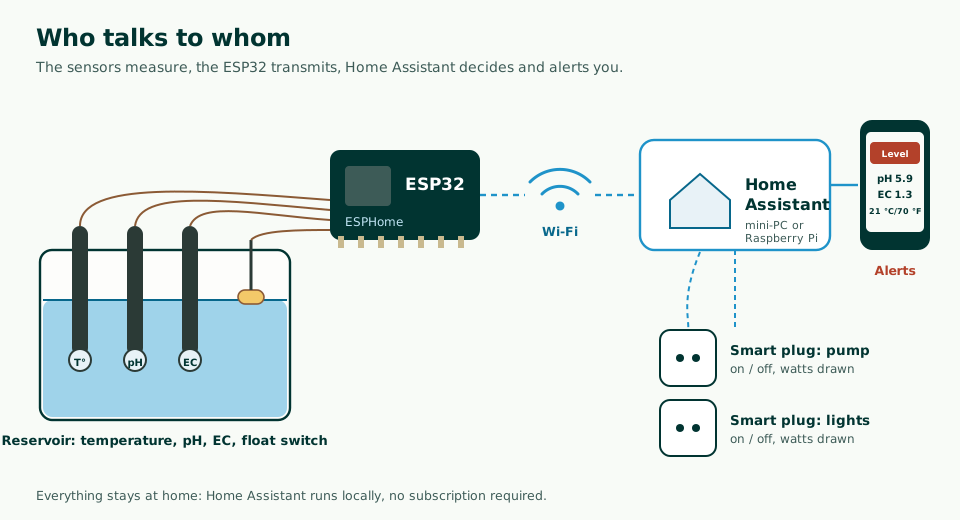
- The ESP32: a small electronics board with Wi-Fi, a few euros, powered by a USB charger. It reads the sensors.
- ESPHome: free, open-source software that programs the board from a simple configuration file, without writing code in the traditional sense.
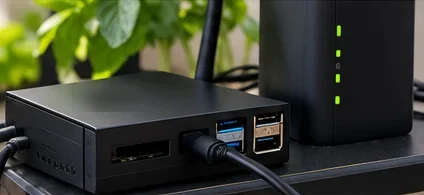
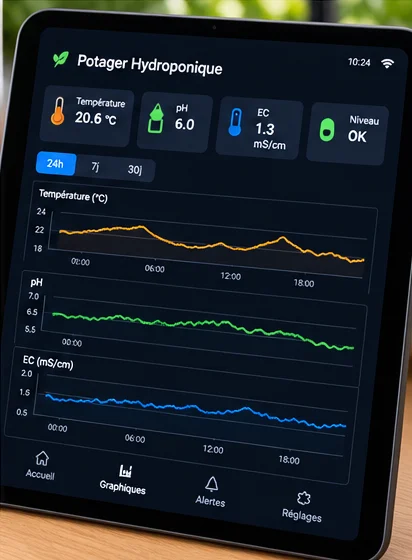
- Home Assistant: the free, open-source home automation software that receives the readings, draws the graphs, triggers the alerts and controls the plugs. It runs at home on a mini PC or a Raspberry Pi, with no required subscription.
- The smart plugs: the pump and lights stay on off-the-shelf devices; Home Assistant turns them on and off and reads their power draw.
4. Tutorial: an ESP32 measuring station
Building the measuring station
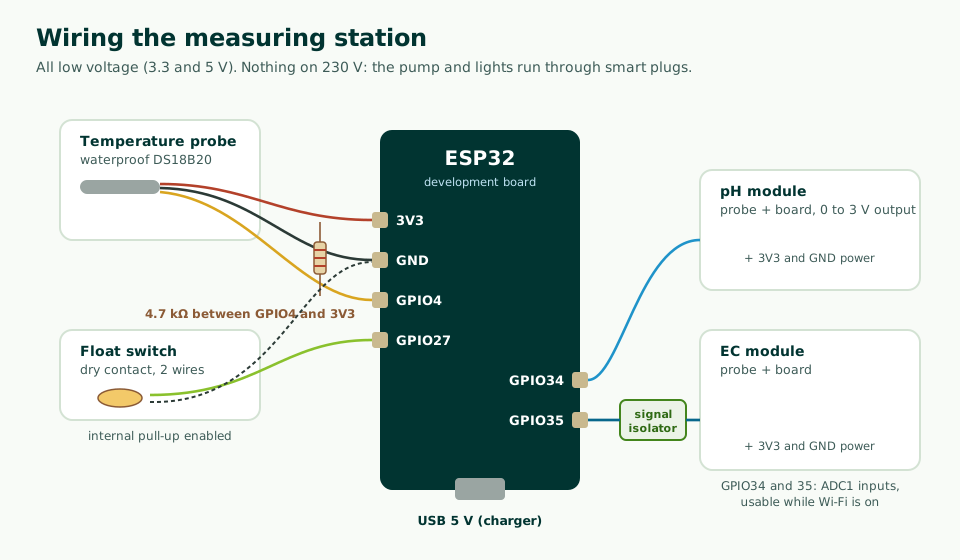
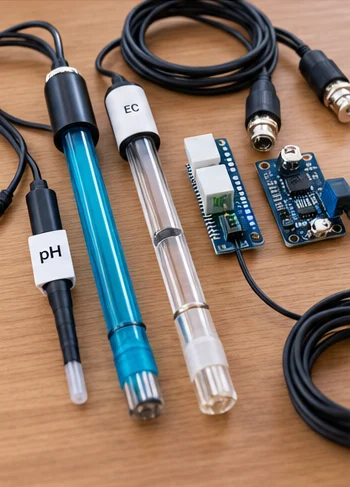
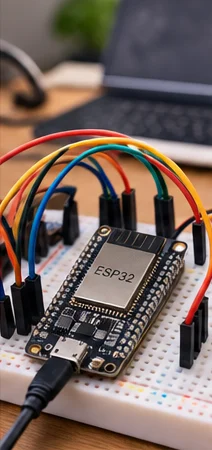
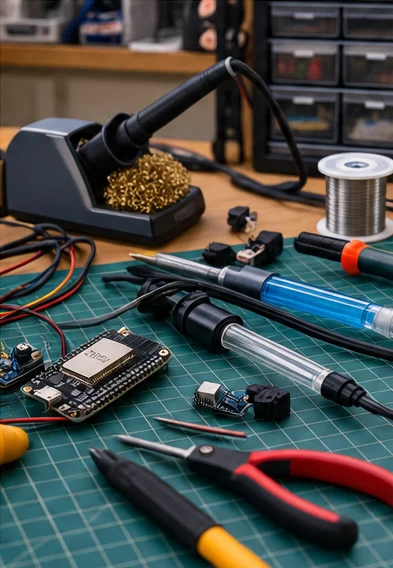
- Gather the partsAn ESP32 development board, a waterproof DS18B20 probe with a 4.7 kΩ resistor, a float switch, a pH module and an EC module with their probes, a signal isolator, Dupont jumper wires, a waterproof enclosure, a USB charger.
- Wire the temperature probeRed to 3.3 V, black to ground, yellow to GPIO4, and the 4.7 kΩ resistor between GPIO4 and 3.3 V.
- Wire the level sensorThe float switch’s two wires between GPIO27 and ground; the ESP32’s internal pull-up resistor does the rest.
- Wire pH and ECAnalog outputs to GPIO34 and GPIO35, two ADC1 inputs: Espressif points out that ADC2 is shared with Wi-Fi. The EC module goes through the signal isolator (see below).
- Install ESPHomeFrom Home Assistant (ESPHome add-on) or on a computer. Paste the configuration below, adapt the Wi-Fi network name, flash the board over USB the first time; later updates go over Wi-Fi.
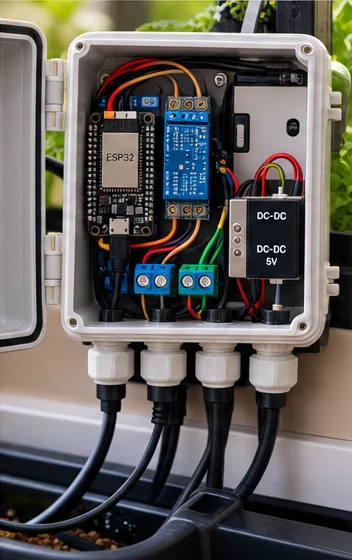
- Box it upBoard and modules in a waterproof enclosure, above the water level, with the probe cables looping downward so drips cannot run up to the electronics.
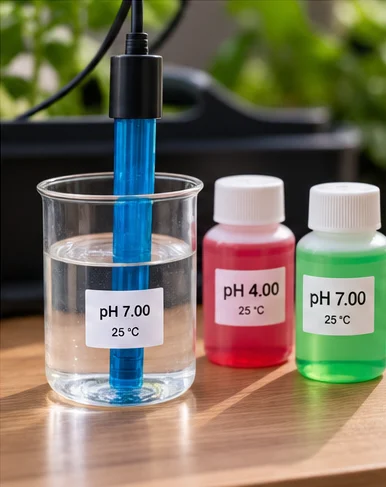
- CalibratepH probe in the pH 7 buffer, then pH 4; EC probe in the 1.41 mS/cm solution; write down the values read and enter them in the configuration (section 5).
The ESPHome configuration
esphome:
  name: garden

esp32:
  board: esp32dev

wifi:
  ssid: !secret wifi_ssid
  password: !secret wifi_password

api:
ota:
  - platform: esphome
logger:

one_wire:
  - platform: gpio
    pin: GPIO4

sensor:
  - platform: dallas_temp
    name: "Solution temperature"
    update_interval: 60s

  - platform: adc
    pin: GPIO34
    name: "pH"
    attenuation: auto
    update_interval: 60s
    filters:
      - median:
          window_size: 7
      - calibrate_linear:
          - 1.52 -> 7.0   # voltage read in the pH 7 buffer (your values)
          - 2.03 -> 4.0   # voltage read in the pH 4 buffer (your values)

  - platform: adc
    pin: GPIO35
    name: "EC (raw voltage)"
    attenuation: auto
    update_interval: 60s

binary_sensor:
  - platform: gpio
    name: "Low level"
    device_class: problem
    pin:
      number: GPIO27
      mode: INPUT_PULLUP
    filters:
      - delayed_on: 30s
The pH calibration voltages are examples: replace them with the ones you read in your buffers. Depending on how the float switch is mounted (contact open or closed at rest), add inverted: true under pin. EC conversion depends on the module: follow its maker’s formula, then apply temperature compensation.
5. Accurate readings: calibration and compensation
- pH: two points, once a month. pH 7 buffer, then pH 4, rinsing the probe in between. The maker of a common module recommends monthly calibration, weekly under heavy use, and states a probe lifespan of more than six months.
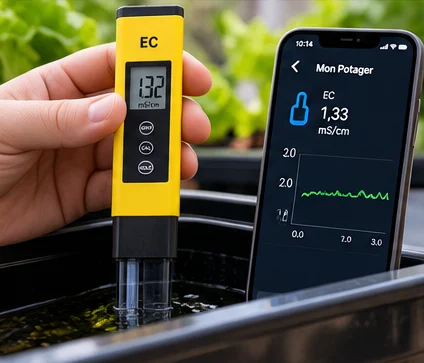
- EC: one calibration solution, usually 1.41 mS/cm (Oklahoma State). According to the USGS, a conductivity meter holds its calibration well: no need to redo it constantly, but check it regularly.
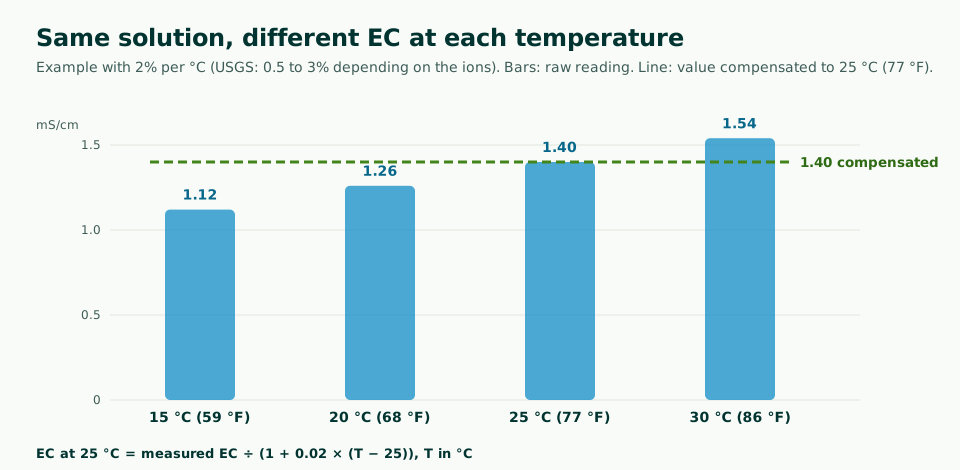
- EC: compensate for temperature. Conductivity rises by 0.5 to 3% per degree Celsius depending on the ions present (USGS); values are referenced to 25 °C (77 °F). The usual formula: EC at 25 °C = measured EC ÷ (1 + 0.02 × (T − 25)), with T in °C and a 2% coefficient, within the USGS range. Your DS18B20 probe supplies T.
- Compare every week with your handheld tester. A growing gap means a probe that needs cleaning, recalibrating or replacing.
- Clean: rinse the probes, remove biofilm. Oklahoma State recommends storing probes clean, in their storage solution.
6. The alerts that really matter
| Alert | Trigger | Why |
|---|---|---|
| Low level | Float switch “low” for more than 30 seconds | Roots out of the water, pump sucking air |
| Solution too warm | Above 24 °C (75 °F) | Less oxygen, Pythium favored (Cornell benchmark, see DWC) |
| Pump stopped | Plug below 2 W during running hours | NFT and towers: roots dry out fast |
| EC or pH out of range | Outside the crop’s range for more than an hour | Deficiency, excess, drift; see pH and EC |
| Silent sensor | No reading for 15 minutes | Board unplugged, Wi-Fi down: no alert no longer means anything |
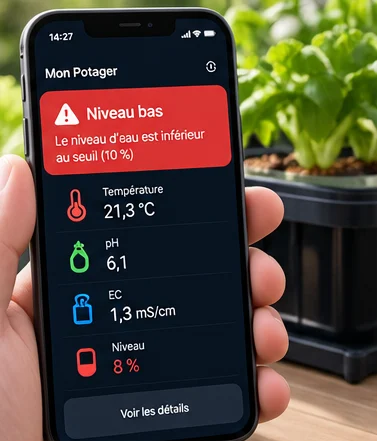
In Home Assistant, each alert is a small automation. Example for low level:
alias: Garden, low level
triggers:
  - trigger: state
    entity_id: binary_sensor.garden_low_level
    to: "on"
actions:
  - action: notify.mobile_app_my_phone
    data:
      title: Garden
      message: Low level in the reservoir
Entity names (binary_sensor.garden_low_level, notify.mobile_app_…) depend on your setup: Home Assistant suggests them in the automation editor.
7. Level 3: letting the machine act
Once the sensors have proven themselves over several weeks, you can automate actions. Each action has its safeguard:
| Action | Hardware | Essential safeguard |
|---|---|---|
| Water top-up | Small 12 V pump or 12 V solenoid valve fed from a jug | Maximum run time per fill, and maximum fills per day; the simplest option is still a mechanical float valve (see going on vacation) |
| pH correction | Peristaltic dosing pump | Small dose, 15 to 30 minutes of mixing before measuring again, maximum doses per day, alert beyond that |
| Nutrients | Two dosing pumps (A and B) | Never mix A and B undiluted, limited dose, EC checked by hand every week |
| Lights and pump | Smart plugs | Backup schedule in the plug itself in case Home Assistant goes down |
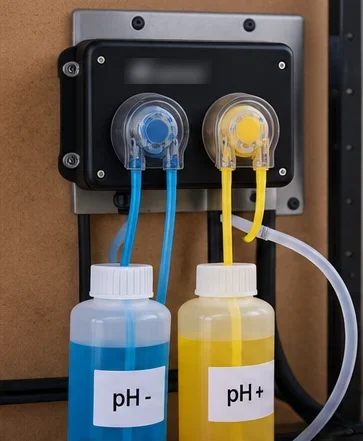
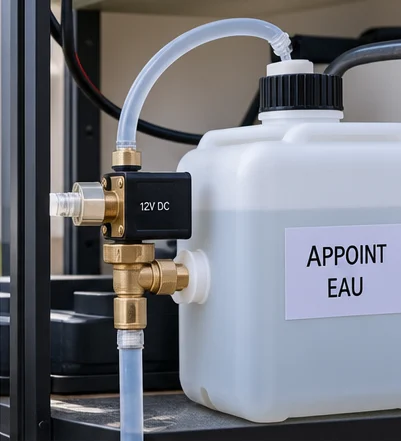
Run times and delays: cautious settings used by growers, to adapt to your volume. A drifting pH probe can add too much acid: until you have checked the probe for several weeks, stick to alerts.
8. Electricity near water
- Electronics above the water, in a closed enclosure, cables with a drip loop.
- Certified power supplies: brand-name USB charger and 12 V adapter, away from splashes.
- Drip tray under the system, outlets and power strips up high.
9. Common mistakes
| Mistake | Consequence | The fix |
|---|---|---|
| Starting with pH | Drifting readings, discouragement | Temperature and water level first, pH last |
| pH and EC probes together without isolation | Nonsense pH readings | Signal isolator or alternating readings |
| Uncompensated EC | EC that “moves” with room temperature | Compensation to 25 °C (77 °F) using the temperature probe |
| ADC2 pins | No readings while Wi-Fi is running | GPIO32 to 39 (ADC1) on the classic ESP32 |
| No “silent sensor” alert | Silence mistaken for calm | Alert if no reading for 15 minutes |
| Automatic dosing too soon | Solution too acidic or too concentrated | Several weeks of alerts only, then limited doses |
| Homemade 230 V relay | Risk of electric shock and fire | Certified smart plugs |
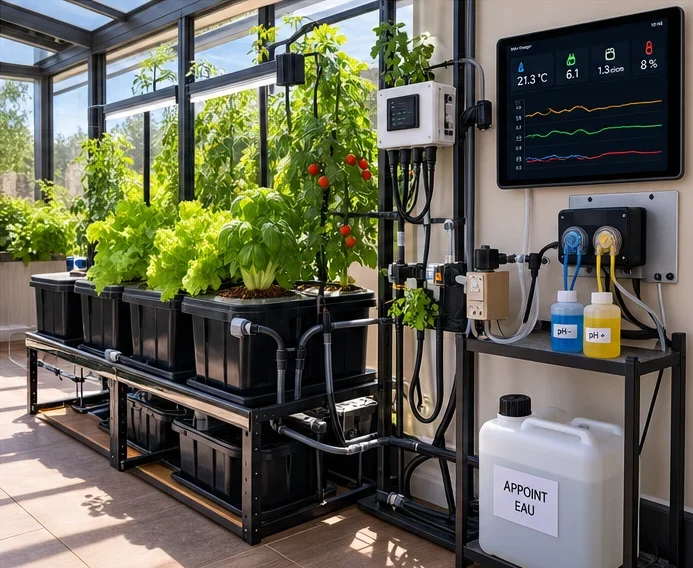
To go further: pH and EC of the solution, maintenance routines, and show off your measuring station on the forum.
Frequently asked questions
Do I need to know how to code to use ESPHome?
Not in the traditional sense: you describe the board and its sensors in a short configuration file, and ESPHome takes care of the rest. You need to be able to copy an example, adapt it (pins, names) and read an error message. The first build takes an evening.
Can a pH probe stay in the reservoir all the time?
The probes sold with hobbyist modules are mostly designed for spot measurements: they drift and wear out faster when permanently submerged. The maker of a common module recommends calibrating once a month, once a week under heavy use, and states a lifespan of more than six months. Compare against your handheld tester every week.
Does Home Assistant need the internet or a subscription?
No: Home Assistant runs locally, on a mini PC or a Raspberry Pi at home. The internet is only needed if you want to receive alerts away from home, through the mobile app or remote access.
Can pH correction be automated?
Yes, with a peristaltic dosing pump, but it is the riskiest level: a drifting probe can add too much acid. Start with alerts, then, if you automate, limit each dose, enforce a mixing delay and set a maximum number of doses per day.
Is it worth it for a small reservoir?
For a Kratky bucket, no: a level mark and a tester are enough. As soon as there is a pump, an air pump, several reservoirs or frequent absences, a temperature probe and a float switch tied to an alert prevent most bad surprises.
- Oklahoma State University Extension, Electrical Conductivity and pH Guide for Hydroponics (HLA-6722)
- U.S. Geological Survey, Specific Conductance (Techniques and Methods 9-A6.3)
- A. Abu Sneineh and A. A. A. Shabaneh, Design of a smart hydroponics monitoring system using an ESP32 microcontroller and the Internet of Things, MethodsX, 2023
- DFRobot, Gravity Analog pH Sensor V2 (SEN0161-V2)
- DFRobot, Gravity Analog Signal Isolator (DFR0504)
- Espressif, ESP-IDF, ADC oneshot mode driver
- ESPHome, component documentation
- Home Assistant, automation documentation